The shimmery golden nail art is perfect for highlighting your nails and hands with minimum effort. This nail art is not only fun but also rather easy to do – all you need are a few items that, in all probability, will already be in your house.
Nail Art Items Needed: Nail file, orange stick (cuticle stick), clear nail varnish, golden nail polish, golden wrapping paper, q-tip, tissues and nail polish remover.
- Start by filing your nail well, because no nail art or for that matter the nail itself, looks good when it is unshaped and uneven.
 Filing Nails
- Next, take the orange stick to push back the cuticles. This makes the nails look neater.
 push back the cuticles
- Apply a coat of the clear nail varnish once you are done buffing your nails.
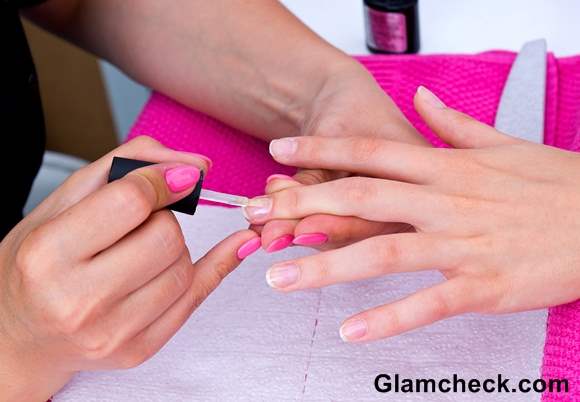 Apply a coat of the clear nail varnish
- Once the coat of clear varnish is dry, apply a coat of the golden nail polish.
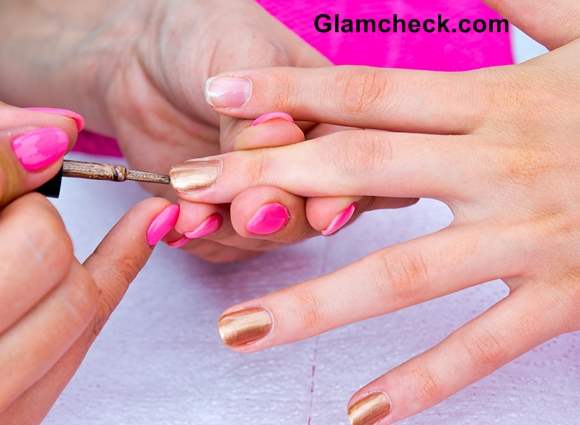 Apply a coat of Gold nail polish
- When the golden nail polish is semi dry (ensure that it is more dry than wet), take the golden wrapping paper and place it on the finger nail. The golden side of the wrapping paper should be up and the silver below. After that, press the paper from above so that an entire patch of color is left behind on the nails.
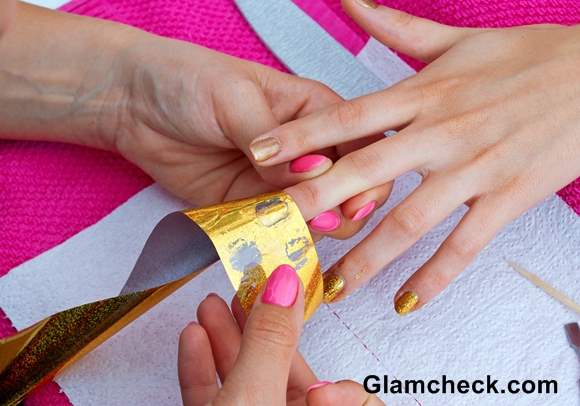 Shimmery Golden Nail Art DIY
- Remove any excess color/residue left from the golden paper from the sides of your nails. You can use a q-tip or tissue dipped in nail polish remover to do so.
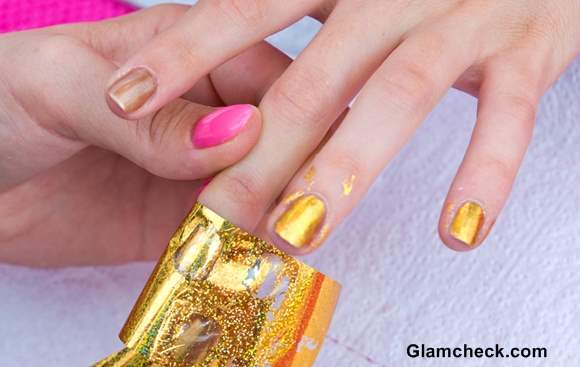 Manicure with transfer foil
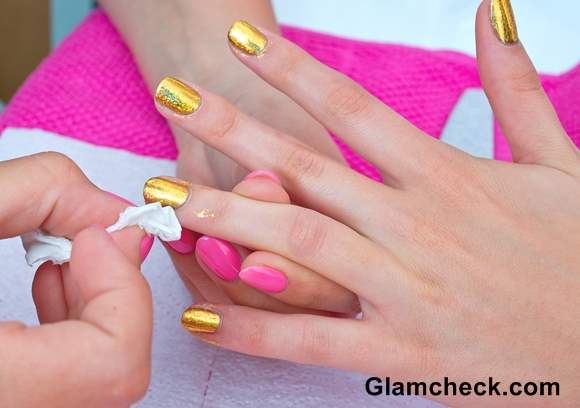 Nail Art with transfer foil
- Finish with a coat of clear nail varnish to hold the newly applied golden color patch in place.
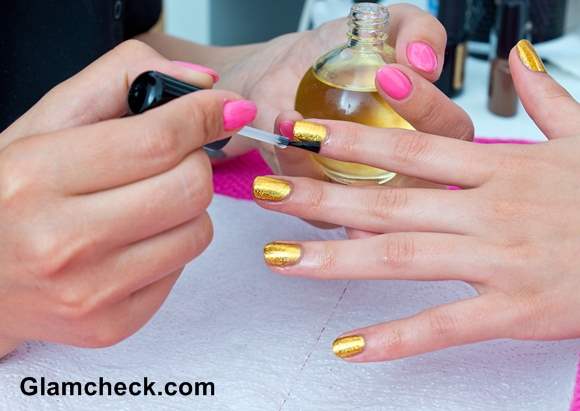 Shimmery Golden Nails DIY
Voila! There you have your shimmery golden nails which are just perfect to flaunt during the festive season.
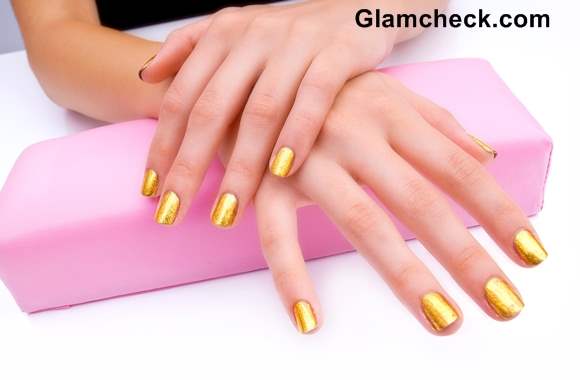 Golden Nail Art DIY
Image: Shutterstock
